Friday, January 29, 2010

Flashback Friday!

It's been awhile since I've participated in ChristopherandTias Flashback Friday posts and I am looking forward to it this week!

Now, I'm thinking that eventually I should find and post a picture that I actually remember...well. BUT in my defense, I do remember *parts* of this picture. I remember that truck in the background that my older brother and I were washing (I promise the truck was the original target...he got in the way). It was huge. Even when I got bigger than I was at three years old, it was still a huge truck. I remember taking a lot of family trips in that truck and camping and trying to drive it. We had it a long long time. I also remember the house that this picture was taken at. We were living in Idaho at the time. I'm pretty sure my momma made the outfits my brother and I are wearing (not sure where my little brother is, but I'm sure he has a matching outfit too).

Thursday, January 28, 2010

Polaroid Love

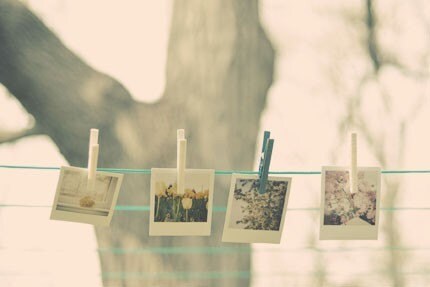
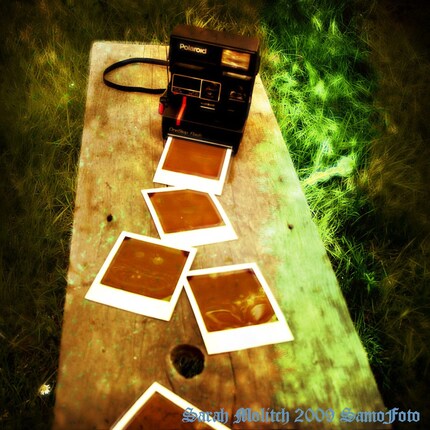
Earlier this week I was looking for a working, vintage polaroid camera to add to my very lonely digital camera so that she would have a friend. I found a few fantastic ones on Etsy, of course but in the search for film for said cameras, I discovered that there was basically NO WAY I can afford this hobby. The film for these cameras is quite expensive (especially to my on-a-college-budget-and-uploading-digital-pics-to-my-laptop-is-free diet) so lets just enjoy some these pola-lovelies for the day.


Wednesday, January 27, 2010

Wise Wednesday - Taking Better Product Photos


Today's installment of Wise Wednesday is brought to you by the husband and wife team of Nomadcraftsetc and Nomadglass as well as a new shop opening in March, Nomadcraftssupplies. After reading a very useful post they had written in the Etsy Forums, I asked if they would be willing to write a guest blog post about how they take amazing shop photos and they very graciously accepted! In the following article, they describe in intimate detail how they set up for the best product shots. Be sure to check out their shops, their website and their blog!

My husband and I have had our online Etsy shop for one year(January 7th is our etsyversery) and have always struggled with pictures. Look at our first few sales and look at our pictures now and you will see we have come a LONG way. (by the way I say we, it is my hubby and I that acted like contortionists so I will talk in the 3rd person)

We have played with every sort of lighting source, been outside, inside, daylight, moonlight and spotlight...EVERYTHING you can think of for taking a great picture we have tried. We finally decided to stop over thinking the whole picture thing and decided to make it simple. VERY simple.

We have a LARGE window in our kitchen(small kitchen) and our dinner table is right next to it. PERFECT. Our camera is on its last leg. It is a hp photosmart r837 with 7.2mega pixels. We have it mounted on a $12.00 tri pod which we use to carry the camera. It cost, maybe, $80.00 about 2 years ago. This just proves you don't need a fancy camera. We put the camera on close up mode, with the flash off and set the exposure compensation to +.5. This effects the white balance and how steady the picture is.

For setup, all we do is prop up a piece of black or white poster board that we have folded in half (cost = $0.50) on the table with a coffee canister behind them so that they don't fall flat.
We use the (natural) light from the window as our lighting source. The best time of day is usually noon, but we can get great pictures in the morning and in the afternoon too. Depends on how well our camera is behaving! One of us will sit in a the chair on the side opposite where the light is coming through the window and get down to eye level with our product, this is the best position to get all angles.
Then we take 5(no more and no less) pictures of each item. We don't spend more than 2 hours per week actually taking pictures-we go with the philosophy that time is money.

5 pictures gives us room to fill all picture spots on Etsy if they are all good pictures. These 5 pictures include: 1 focal shot, 2 angle shots, one shot of the back side of the piece and one size reference shot(like the items you see in a hand).

If one out of those 5 pictures isn't perfect we delete it and will replace it with one of us working in our shop.
Oh, and the only thing we have to do to our pictures is crop them-rarely do we have to lighten, darken or manipulate the picture in that way. We use Photobucket as our photoshop program. FREE and easy to use-plus online storage for all of our pictures so we don't ever lose anything.

We do about 250 pictures per week for 2 shops so this method is what has worked for us as far as getting good pictures and time conservancy. So, our 5 best tips for getting a good picture(or what has worked for us anyways): 1. Have consistent backgrounds-depending on your items a neutral/plain colored background is great! 2. Natural light, whether from the window side or outside, works well. An overcast day seems to work the best. 3. TURN the FLASH OFF!!!! 4. Get pictures from all angles, this will let the viewer "Feel" the item with their eyes. 5. Once you find something that works-run with it! Don't change a thing!

Thank you so much for this post, I will be trying out your techniques as soon as my studio is unpacked!

Deep Waters and Starlit Skies Shrug Pattern


This pattern has finally been listed! I first showed you the yarn back in this post and now the garment is complete and the pattern has been finished :)

Tuesday, January 26, 2010

Tuesday Learn to Knit Day 4 - Purling

Alright, so how did your first projects come along? I would really appreciate some feedback on these lessons so that I know what I can improve in the future :) Also, suggestions for future projects and questions are always welcome!

This week we are going to continue with dishcloths (because I'm teaching you the "other" basic stitch and I don't want you to get bored with a big long scarf or project and also because I'm sure you still have a little bit more of the cotton left). We are going to make a checkerboard patterned cloth this time :)


First, CO (cast on) 24 stitches like I showed you in this post.

Knit the first 4 sts, given the directions in this post.

Now for the purling: With the 4 K (knit) sts in your right hand and the remaining 20 sts in your left, take the yarn from the back of the work between the two needles so that it is now in the front.
Insert the right hand needle from the back to the front of the middle of the stitch (basically, do a knit st backwards). Wrap the yarn around the needle from right, around the back, to the left and back to the front as shown.
While keeping this new loop on the right hand needle, pull the rhn (right hand needle) back through the stitch in the direction you put it in and slide the st off the lhn (left hand needle).

Purl 3 more sts so that you now have eight sts on the rhn.

Continue in this pattern (K4, P4) to the end of the row.

Repeat 4 more rows (5 total) in this pattern.
For the next 5 rows, P4, K4 all across the needle.
Every 5 rows, switch back and forth so that you form a checkered pattern. Continue in pattern as set until desired length and bind off and shown in this post.

Monday, January 25, 2010

Thursday, January 21, 2010

Sweet Little Vintage Shop

Well, I guess "little" isn't exactly the right word, with over 100 items, RollingHillsVintage keeps my attention with a plethora of some of the most adorable household items.

I am in love with vintage Pyrex bowls and these showcase the size and durability in my favorite color!

I would love to grow a leafy vine out of this small planter.

And who wouldn't enjoy a cup of tea poured from this teapot? So simple and sweet :)


Wednesday, January 20, 2010

Wise Wednesday - An Earring Making Tutorial

This week's contribution to Wise Wednesdays is from kikibirdjewelry. She sells gorgeous trinkets in her Etsy shop and blogs about her shop and life over here. Read on to see her gorgeous pictures and learn how to make your own earrings!

Tuesday, January 19, 2010

Tuesday Learn to Knit Day 3 - Binding Off

Ok, now that you have the body of your washcloth knitted up (congratulations!) you must now finish the piece. You can't simply slide it off your needles and call it good, it will unravel and all your hard work will be lost.

This week I am teaching you how to Bind Off (BO). Again, like the cast on method, there are so many different ways to do this but I am teaching you the easiest, most basic method.

First, position your work as if you are about to knit another row (needle with stitches in left hand, empty needle in right).

Knit the first two stitches as you have been, but try to do so as LOOSELY as possible.
When you have just two stitches on the right hand needle, take your left hand needle, slide it into the first stitch (right-most stitch)

and pass this stitch over the second (left-most) stitch keeping sure to leave the second stitch on the needle.
Continue these steps to the last stitch.

Cut the yarn leaving a few inches for tail and pull the tail through the remaining loop.


You can now weave in the ends and start using your very first knitting project! Yay! Congratulations!
And please feel free to send in your photos so I can show them off to all the other "students" and share your questions, problems, successes. I'll try to answer any questions I can and help you all work out the kinks :)


Monday, January 18, 2010

Knitting Notebook

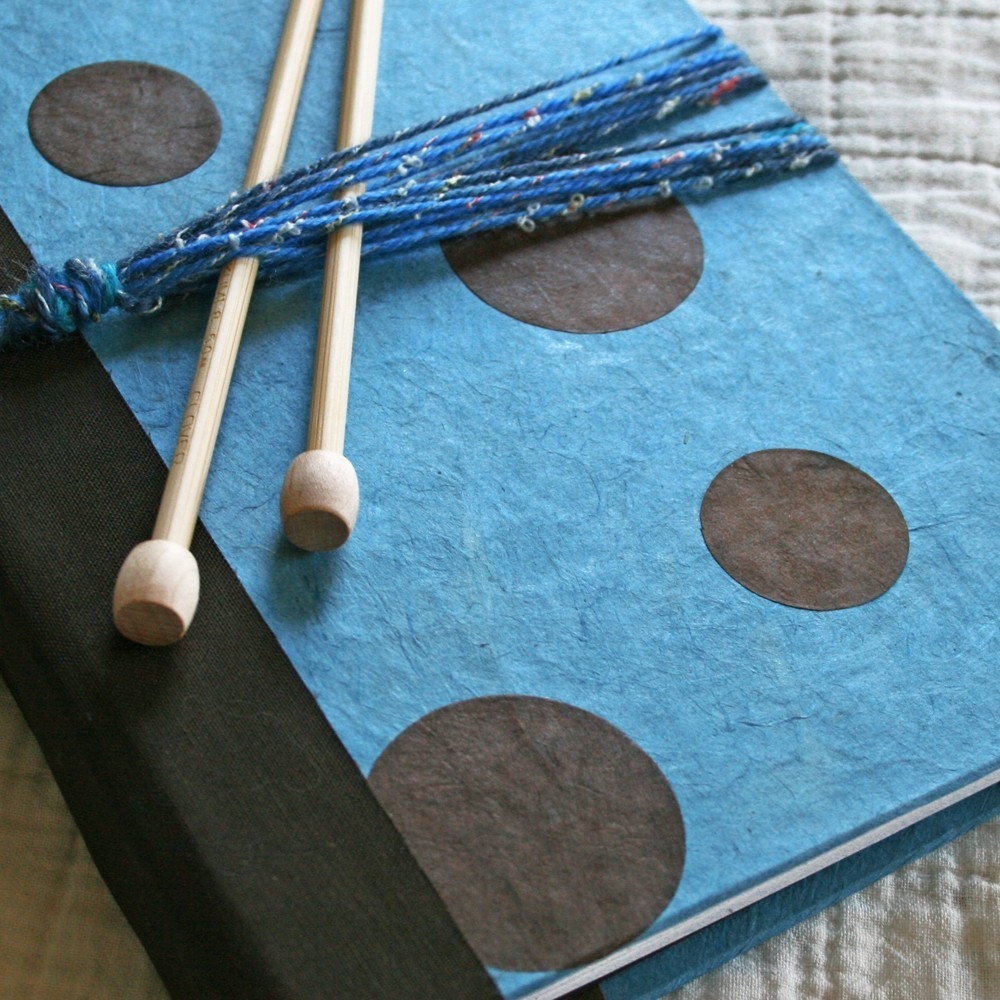
What yarn-miester on your list wouldn't want one of these phenomenal knitting notebooks from PrairieGarden?

A perfect way to keep track of projects, yarns, gifts and anything a knitter might do!

Thursday, January 14, 2010

Super Slouchy Chunky Beanie


New in the shop today!

I have so many things to list but need to get photos first :/ Life hasn't been very conducive to product photos lately, hopefully I'll get them all listed soon! I have cowls, scarves, hats, fingerless mitts, all sorts of goodies :)

Wednesday, January 13, 2010

Wise Wednesday - Writing an Online Bio - Part 2

Kelly G. Stafford provides marketing and communication services for small businesses. From a long line of artisans, crafters, creators and entrepreneurs, Kelly appreciates all things unique and handmade and understands the challenges of promoting your work while trying to do what you love. Find her shop here.

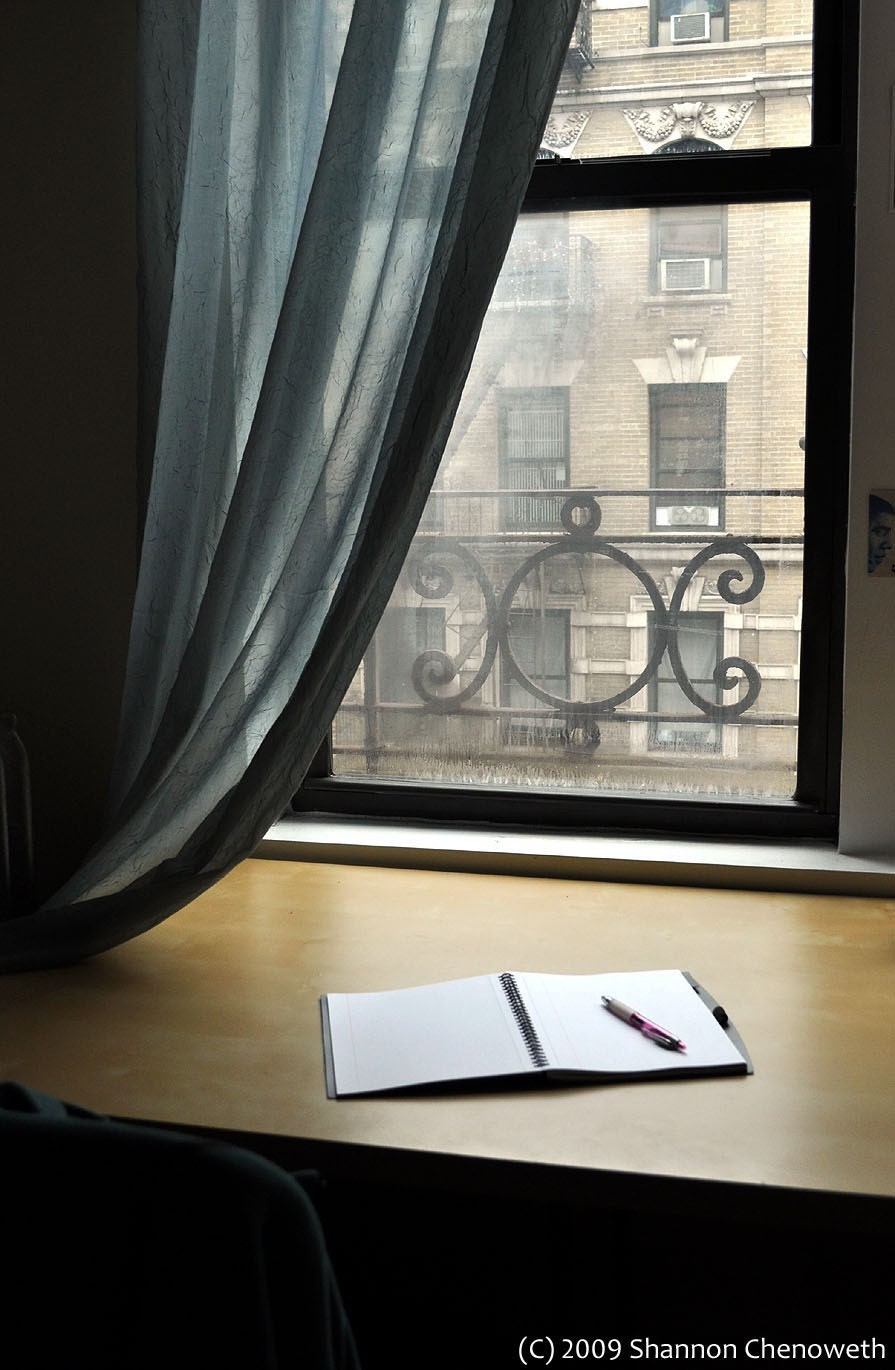
Writing Space by shutterbugshannon

Previously, I outlined a basic framework to use when writing an online bio for yourself as an artisan. Once you have answered the four basic questions posted last week, review what you have written with the following tips in mind.

  • Keep it concise. You only have a couple of seconds to grab the reader’s attention. Don’t be afraid to cut out extraneous or irrelevant material. This will also help to eliminate the common online aggravation of having to continually scroll down.

  • Use spell check. Misspelled words are unforgivable. Unfortunately, whether true or not, an easily fixed error such as a misspelled word indicates a lack of attention to detail. If necessary, type your your bio in Word or another word processing program and then cut and paste into the final program. Two invaluable (and free) resources are www.dictionary.com and www.thesaurus.com .

  • Lastly, don’t neglect the visual aspect. After you post your bio, view it as a customer would. How does the verbiage look in the available space? Is it visually appealing? Often, simply breaking a long paragraph into multiple smaller paragraphs greatly increases the readability.


Thank you Kelly! I know I am putting these tips to use and I can't wait to learn more from you in the future :)

Tuesday, January 12, 2010

Peace

On the first day of the new year I traveled north to visit my momma. We were going to go have some girl time, talk and eat delicious food. Although the trip was....a trip, if you catch my meaning, the time we spent together was amazing, as always :)

We were just beginning our mother-daughter time and caught site of this fellow:

He was standing at a busy intersection waving his flag calmly and with purpose. This particular intersection is a favorite for protest or awareness groups and his absence of protest, his lack of aggression, was very refreshing.

I suggest we all just some time to ourselves occasionally to practice peace. Don't get mad at the car who just cut you off. Don't fume over your neighbor's loud music or guests. Take a breather before snapping at your SO. And don't get mad at the weather when it doesn't warm the house, but instead turns it into a giant ice box...ok, that last one was a personal reminder more than anything...

Tuesday Learn to Knit Day 2 - The Basics


Alrighty, so now you all have your materials and its time to learn to knit! Today I will show you how to Cast On (CO) and the basic Knit (K) stitch. (The letters in parentheses are the commonly used shorthand in knitting patterns, etc). There are many ways to cast on for a knitted piece, but today I am showing you the easiest, most commonly used method.

Ok, here we go:

To Cast On, first find the end of your yarn and make a loop.


Pull the tail end of the yarn behind the loop as shown

Take your needle and insert it through the loop from the right, behind the tail and out through the loop again on the left (a slip knot, if you will). Congratulations! You now have your first cast on stitch :)

To add more stitches, take the needle with the first stitch and hold it in your right hand, the yarn in you left hand and wrap the yarn around your left thumb from front to back:
Insert the needle in your right hand through the loop from front to back and slide off your thumb, you now have two stitches!


Continue in this manner until you have twenty (20) stitches on your needle.

Knitting:

Put the needle with the new stitches on it in your left hand and take your other needle (empty) in your right.

Insert the right hand needle into the first stitch (or loop, if its easier for you to envision it this way) from front to back through the middle.

take the yarn (which is behind your work) and wrap it around the right hand needle from the back, to the left and around the front to the right.
while keeping this loop on the right hand needle, pull the needle back through the stitch on the left hand needle the way it went in so that the right hand needle is back in the front of the work, and pull the stitch off the left hand needle.


Continue in this manner to the end of the row so that all of the stitches are now on the right hand needle and then turn it around (now all of the stitches are in your left hand and the empty needle in your right).

This week, practice your knitting and make this piece into a little square or rectangle (whichever you prefer) and next week I will show you how to bind off! Please let me know if these directions make sense so that I can improve my lessons throughout the year :) I wanted to do a video, but with my little camera, everything was so fuzzy it would be impossible to show you all :( so I sincerely hope that these photos help. And please feel free to share your progress, problems, triumphs, etc so we can all join in and help each other out :D
Related Posts Plugin for WordPress, Blogger...