Showing posts with label Wise Wednesday. Show all posts

Wednesday, February 24, 2010

Wise Wednesday - The Art (or science?) of Pricing


It's been a hot topic on Etsy recently (well, I mean, I guess its almost always hot topic huh?) but pricing can be a very difficult thing to tackle. This post is filled with the things that I find most important about pricing and I think everyone, especially every Etsy seller, should know.

First, you can't do everything. And when I say everything, I really mean: your product cannot be quickly made, cheap and of the highest quality. You can do maybe two of those three things, but not all three and you shouldn't try. This will reflect in your pricing.

If you have a quickly-made product that is cheap, it won't be the most high quality piece. If you make a very high quality piece that was made rather quickly, it won't be cheap. If you make a cheap, high quality item, it won't be quickly made. You see what I mean?

Make sure your decision on which two features to focus on (whether you make it consciously, or your craft makes it for you) reflects in your pricing structure.

There are so many different ways to price items, and you really do have to find one that works the best for you. I've heard some people settle for a simple calculation of "Three times the price of the materials" I've heard some people research the price of other similar items, I know some people have very lengthy equations that they use, or they download a pricing template. The equation I find that works best for me is as follows:

Hours Spent on Piece x Hourly Wage = Labor

Cost of Materials + Labor = At Cost

At Cost x 2 = Wholesale

Wholesale x 2 = Retail

If you decide to use this method, I can send you an excel spreadsheet that I made that makes this easy for me, you enter in your hourly wage that you will charge (make sure its fair, come on, do you really want to be making less than minimum wage?), you enter in the cost of materials and how many hours you took to make it, then it calculates everything else out for you. Trust me, it can be a bit scary or at least eye-opening at first to see how much you really *should* be making, but you have to know what your work is worth. If you don't believe in it, no one else will.

Wednesday, February 10, 2010

Wise Wednesday - Writing Product Descriptions


This week's post is written by the very generous and talented Kelly G. Stafford. She has contributed to SillyLittleLady's Wise Wednesdays before teaching you how to write an online bio here and here. Kelly G. Stafford provides marketing and communication services for small businesses. From a long line of artisans, crafters, creators and entrepreneurs, Kelly appreciates all things unique and handmade and understands the challenges of promoting your work while trying to do what you love.


A product description is an opportunity to describe your product and what makes it unique. You know that you have a great product that has been carefully designed and lovingly created, but others will not if you do not communicate it.

A product description is comprised of three basic components: the purpose, the physical characteristics and the technical details.

Purpose

The purpose should detail what your product does and how will it enhance your customer’s life. Will it warm them up on a cold blustery day? Will it bring a touch of elegance to an otherwise nondescript outfit? Will it brighten up their favorite room?

Physical Characteristics

The physical characteristics’ portion of your description should create a mental image of your product. Write with the assumption that no pictures of your product exist and you are solely dependent on words to describe it. Is your product quirky, sleek, elegant, sturdy, irreverent, bold, whimsical or charming? Is it fuzzy, smooth, lustrous or opaque? Is it dandelion yellow, cerulean blue, strawberry red or jade green?

An online thesaurus, http://thesaurus.reference.com, is an excellent way to quickly find descriptive words and an online resource for colors is Wikipedia’s List of Colors, http://en.wikipedia.org/wiki/List_of_colors.

Technical Details

Succinctly outline what materials were used, the size of the product (include both metric and U.S. measurements) and the process or techniques utilized. Accuracy is of paramount importance.

Writing and Editing your Product Description

Using this basic outline, start writing. In the beginning, do not worry about the cohesiveness of the copy, grammatical errors or sentence structure, just write. Once you have your initial thoughts down, start reviewing and editing. Move sentences around. The actual order of the purpose, the physical characteristics and the technical details in your product description are dependent on the product itself. What sequence is logical for your product? Pare it down to the essentials. Read it out loud. When you hear the words spoken, does it fit your vision of your product?

In conclusion, do not underestimate the importance of a well written product description. While the internet has created a global marketplace to showcase your wares, you are also now competing with sellers around the world. Carefully chosen words have a dramatic and lasting impact.

Wednesday, January 27, 2010

Wise Wednesday - Taking Better Product Photos


Today's installment of Wise Wednesday is brought to you by the husband and wife team of Nomadcraftsetc and Nomadglass as well as a new shop opening in March, Nomadcraftssupplies. After reading a very useful post they had written in the Etsy Forums, I asked if they would be willing to write a guest blog post about how they take amazing shop photos and they very graciously accepted! In the following article, they describe in intimate detail how they set up for the best product shots. Be sure to check out their shops, their website and their blog!

My husband and I have had our online Etsy shop for one year(January 7th is our etsyversery) and have always struggled with pictures. Look at our first few sales and look at our pictures now and you will see we have come a LONG way. (by the way I say we, it is my hubby and I that acted like contortionists so I will talk in the 3rd person)

We have played with every sort of lighting source, been outside, inside, daylight, moonlight and spotlight...EVERYTHING you can think of for taking a great picture we have tried. We finally decided to stop over thinking the whole picture thing and decided to make it simple. VERY simple.

We have a LARGE window in our kitchen(small kitchen) and our dinner table is right next to it. PERFECT. Our camera is on its last leg. It is a hp photosmart r837 with 7.2mega pixels. We have it mounted on a $12.00 tri pod which we use to carry the camera. It cost, maybe, $80.00 about 2 years ago. This just proves you don't need a fancy camera. We put the camera on close up mode, with the flash off and set the exposure compensation to +.5. This effects the white balance and how steady the picture is.

For setup, all we do is prop up a piece of black or white poster board that we have folded in half (cost = $0.50) on the table with a coffee canister behind them so that they don't fall flat.
We use the (natural) light from the window as our lighting source. The best time of day is usually noon, but we can get great pictures in the morning and in the afternoon too. Depends on how well our camera is behaving! One of us will sit in a the chair on the side opposite where the light is coming through the window and get down to eye level with our product, this is the best position to get all angles.
Then we take 5(no more and no less) pictures of each item. We don't spend more than 2 hours per week actually taking pictures-we go with the philosophy that time is money.

5 pictures gives us room to fill all picture spots on Etsy if they are all good pictures. These 5 pictures include: 1 focal shot, 2 angle shots, one shot of the back side of the piece and one size reference shot(like the items you see in a hand).

If one out of those 5 pictures isn't perfect we delete it and will replace it with one of us working in our shop.
Oh, and the only thing we have to do to our pictures is crop them-rarely do we have to lighten, darken or manipulate the picture in that way. We use Photobucket as our photoshop program. FREE and easy to use-plus online storage for all of our pictures so we don't ever lose anything.

We do about 250 pictures per week for 2 shops so this method is what has worked for us as far as getting good pictures and time conservancy. So, our 5 best tips for getting a good picture(or what has worked for us anyways): 1. Have consistent backgrounds-depending on your items a neutral/plain colored background is great! 2. Natural light, whether from the window side or outside, works well. An overcast day seems to work the best. 3. TURN the FLASH OFF!!!! 4. Get pictures from all angles, this will let the viewer "Feel" the item with their eyes. 5. Once you find something that works-run with it! Don't change a thing!

Thank you so much for this post, I will be trying out your techniques as soon as my studio is unpacked!

Wednesday, January 20, 2010

Wise Wednesday - An Earring Making Tutorial

This week's contribution to Wise Wednesdays is from kikibirdjewelry. She sells gorgeous trinkets in her Etsy shop and blogs about her shop and life over here. Read on to see her gorgeous pictures and learn how to make your own earrings!

Wednesday, January 13, 2010

Wise Wednesday - Writing an Online Bio - Part 2

Kelly G. Stafford provides marketing and communication services for small businesses. From a long line of artisans, crafters, creators and entrepreneurs, Kelly appreciates all things unique and handmade and understands the challenges of promoting your work while trying to do what you love. Find her shop here.

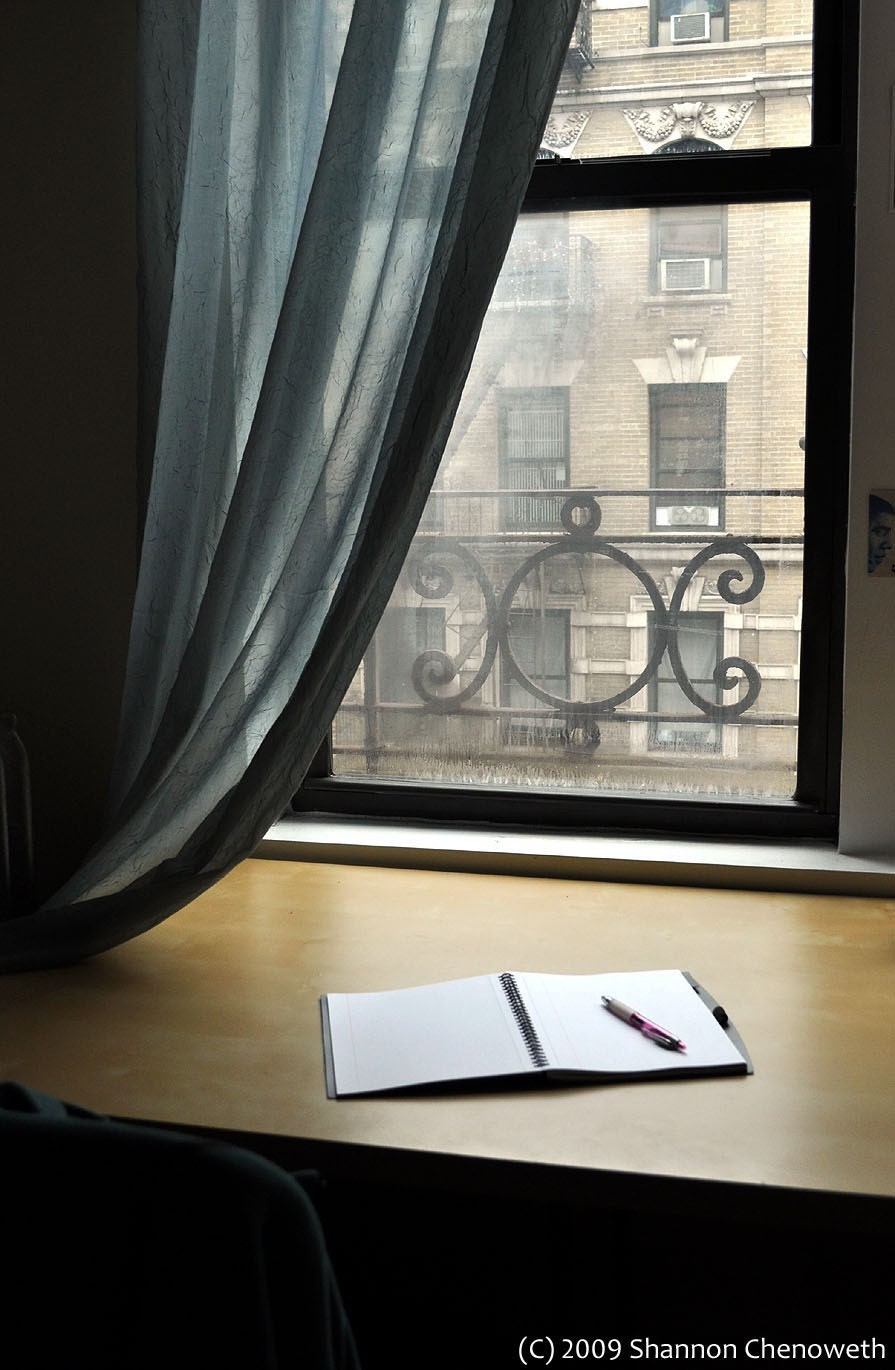
Writing Space by shutterbugshannon

Previously, I outlined a basic framework to use when writing an online bio for yourself as an artisan. Once you have answered the four basic questions posted last week, review what you have written with the following tips in mind.

  • Keep it concise. You only have a couple of seconds to grab the reader’s attention. Don’t be afraid to cut out extraneous or irrelevant material. This will also help to eliminate the common online aggravation of having to continually scroll down.

  • Use spell check. Misspelled words are unforgivable. Unfortunately, whether true or not, an easily fixed error such as a misspelled word indicates a lack of attention to detail. If necessary, type your your bio in Word or another word processing program and then cut and paste into the final program. Two invaluable (and free) resources are www.dictionary.com and www.thesaurus.com .

  • Lastly, don’t neglect the visual aspect. After you post your bio, view it as a customer would. How does the verbiage look in the available space? Is it visually appealing? Often, simply breaking a long paragraph into multiple smaller paragraphs greatly increases the readability.


Thank you Kelly! I know I am putting these tips to use and I can't wait to learn more from you in the future :)

Wednesday, January 6, 2010

Wise Wednesday - Writing an Online Bio - Part 1

Hello and welcome to the first installment of Wise Wednesday! This week (and next) we have a phenomenal guest poster, Kelly Stafford (shop here) who will teach us all how to write a great online biography. Kelly G. Stafford provides marketing and communication services for small businesses. From a long line of artisans, crafters, creators and entrepreneurs, Kelly appreciates all things unique and handmade and understands the challenges of promoting your work while trying to do what you love.


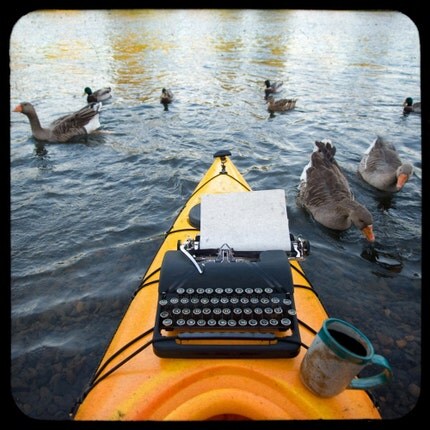
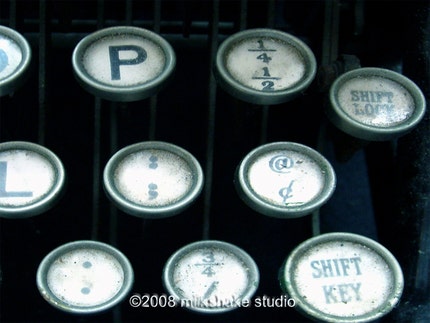
Tappity Tap Tap by MilkshakeStudio

When buying handmade, customers want to know the story of the artisan behind the product. A bio is the opportunity to introduce yourself and your work and first impressions truly do matter.

When writing an online bio for yourself as an artisan, start by answering the following questions:

  1. Who are you? Move beyond simply stating your name by detailing what inspires you and how you gained your expertise. Are you self-taught, did you apprentice with a local craftsperson or are you formally trained?
  2. What do you create? Do you have a signature item and typically stay within one genre. Do you only use certain materials or are you constantly experimenting with new mediums?
  3. How do you make it? Do you utilize a specific technique or certain materials?
  4. Why do you practice your craft? Have you always created beautiful things? Did you escape a cubicle to follow your dreams?
Now that you have a basic outline for your bio, start writing and next week I will cover how to put the finishing touches on your bio.


Monday, January 4, 2010

The New Year!

Hello all and welcome to the 4th day of the year 2010 (twenty-ten, two-thousand and ten, just ... ten?) and I have some new things that I am very excited about telling you all about :)


First of all, there will be some new weekly features:

Tuesdays will be Learn to Knit Day! No alliteration and no rhyming, but a number of comments in a thread stated that they wanted to learn how to knit, so I'm going to teach you! Tomorrow will be the initial post telling you all what materials to buy then next week we will begin with the knitting lessons. I was thinking about ways for everyone who is learning to stay connected and so I am wondering if perhaps a link exchange sort of thing would work? I teach you a technique one week then the following week you can all link to a blog post or flickr stream or what-have-you showing off what you accomplished. What do you think? Yes? No? Too confusing?

Wednesdays will be Wise Wednesdays (yay for the alliteration!) where I will feature some guest posts written by others or some that I write that will teach you all something new. I have some posts lined up to teach about something business-y related (this week we will all learn how to write a good profile or bio for Etsy or a website, etc) or a new craft technique (I have some jewelry-related tutorials and other fun craftsy things).

I also have made some small changes to the layout of this blog. When I say small, I mean small. Specifically, I added Ravelry links to my available patterns over on the left sidebar. What do you think? All feedback is appreciated!

So I want to end this post by saying that if you have anything you'd like to learn this year on Wise Wednesday or if you'd like to write an article for this series, please let me know! And if you'd like to be featured on my blog or know a shop you think I would enjoy, again, bring it to my attention :D

Happy New Year Everyone!

Related Posts Plugin for WordPress, Blogger...